proudly serving
the mid-south
How to Drain an Ice Machine
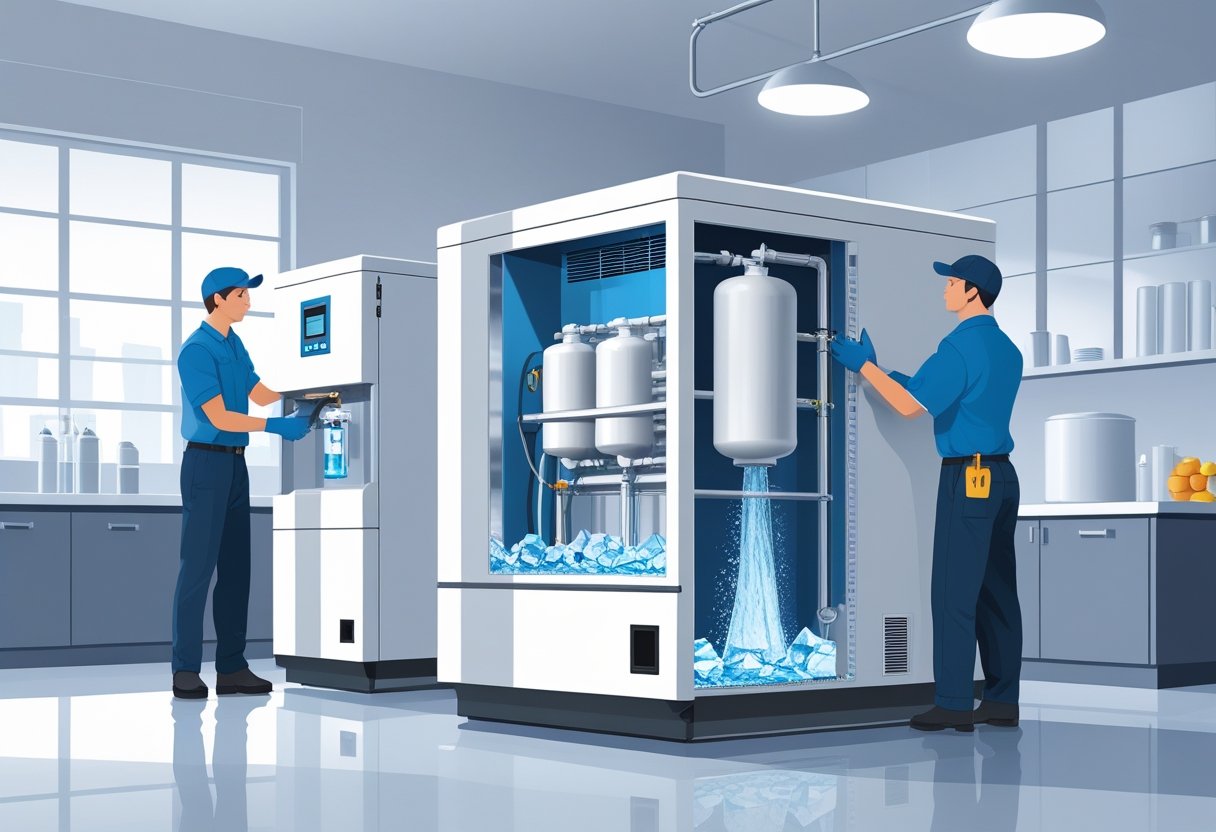
Proper maintenance is essential for keeping your ice machine running smoothly, and draining it is a crucial part of the process. Whether you’re preparing for seasonal downtime or performing routine cleaning, knowing how to drain an ice machine can help extend its lifespan and ensure it operates efficiently. This guide will walk you through the necessary steps to safely and effectively drain your machine.
Why Draining Your Ice Machine is Important
Regularly draining your ice machine removes excess water, prevents mineral buildup, and prepares the unit for cleaning or temporary storage. Neglecting this maintenance step can lead to problems such as reduced ice production, unpleasant odors, and even mechanical damage over time. Whether you own a commercial or residential ice machine, proper draining ensures it continues to produce clean, high-quality ice.
Steps to Drain Your Ice Machine
Draining an ice machine isn’t complicated, but following the correct steps is essential to avoid damaging the unit. Here’s a simple process to guide you:
Step 1: Turn Off the Machine
Before beginning, ensure the ice machine is powered off and unplugged. This step prevents electrical hazards and ensures your safety while handling the equipment.
Step 2: Remove Remaining Ice
Empty the ice bin completely. If there’s any residual ice, allow it to melt naturally, or use warm water to speed up the process. Once all ice is removed, clean the bin with a mild detergent and warm water to eliminate bacteria and debris.
Step 3: Locate the Drain Valve
Most ice machines have a drain valve or plug located at the back or bottom of the unit. Consult your owner’s manual if you’re unsure where to find it. Ensure you have a bucket or access to a floor drain to catch the water.
Step 4: Open the Drain Valve
Open the drain valve and allow the water to flow out completely. This step may take a few minutes, depending on the size of your machine. Be patient and ensure all the water has drained before moving on to the next step.
Step 5: Flush the System
To remove any lingering sediment or minerals, flush the system with clean, warm water. Pour water into the reservoir and let it flow through the drainage system. This step ensures that your ice machine is free from buildup and ready for use.
Step 6: Close the Drain Valve
Once all water is drained and the system is flushed, close the drain valve securely. Ensure it’s tightly sealed to prevent leaks when the machine is back in operation.
Step 7: Perform a Final Cleaning
After draining, take the opportunity to clean the rest of the machine. Wipe down the exterior, clean the condenser coils if necessary, and sanitize any components that come into contact with ice. Proper cleaning keeps your ice machine hygienic and efficient.
When to Drain Your Ice Machine
It’s recommended to drain your ice machine in the following situations:
- Routine Maintenance: Regularly draining prevents mineral buildup and ensures clean ice production.
- Deep Cleaning: Before performing a thorough cleaning, drain the machine to access all components.
- Seasonal Shutdown: If you’re closing a business or taking the machine out of service temporarily, draining is essential to avoid stagnant water and bacteria growth.
- Repairs or Relocation: Draining prevents leaks and protects your ice machine during transport or repairs.
Ice Machine Services in Memphis and the Mid-South
If you need assistance with draining, cleaning, or maintaining your ice machine, Memphis Ice Machine Co. is here to help. As the largest ice machine rental and commercial refrigeration company in Memphis and the Mid-South, we’re committed to keeping your equipment running efficiently. Contact us today for expert advice, professional service, and reliable solutions tailored to your needs.
Recent News
Why Is My Ice Machine Slow Causes and Quick Fixes to Improve Ice Production
Best Practices for Storing Ice to Maintain Purity and Extend Shelf Life
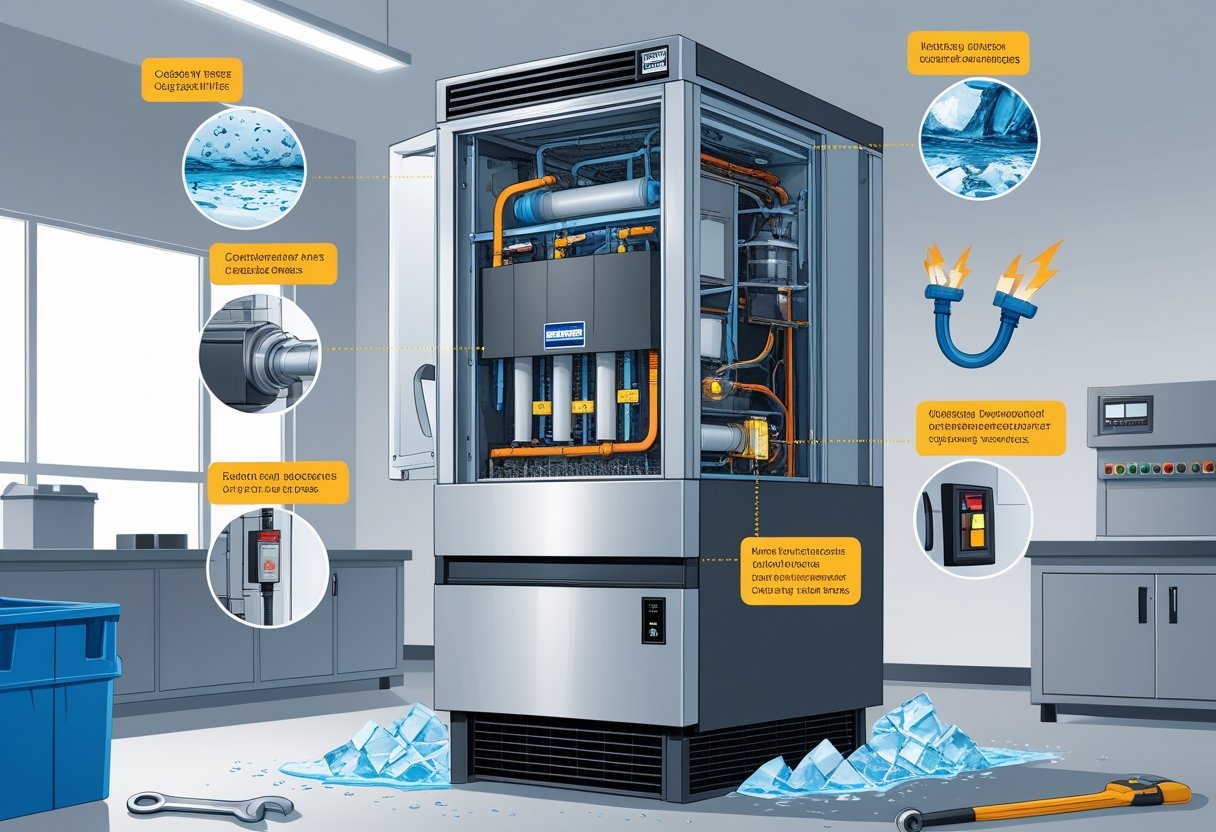
Top Reasons Ice Machines Fail and How to Prevent Costly Breakdowns
Common Ice Machine Rental Questions Answered for Event and Business Needs

How to Choose a Commercial Ice Machine for Optimal Efficiency and Reliability
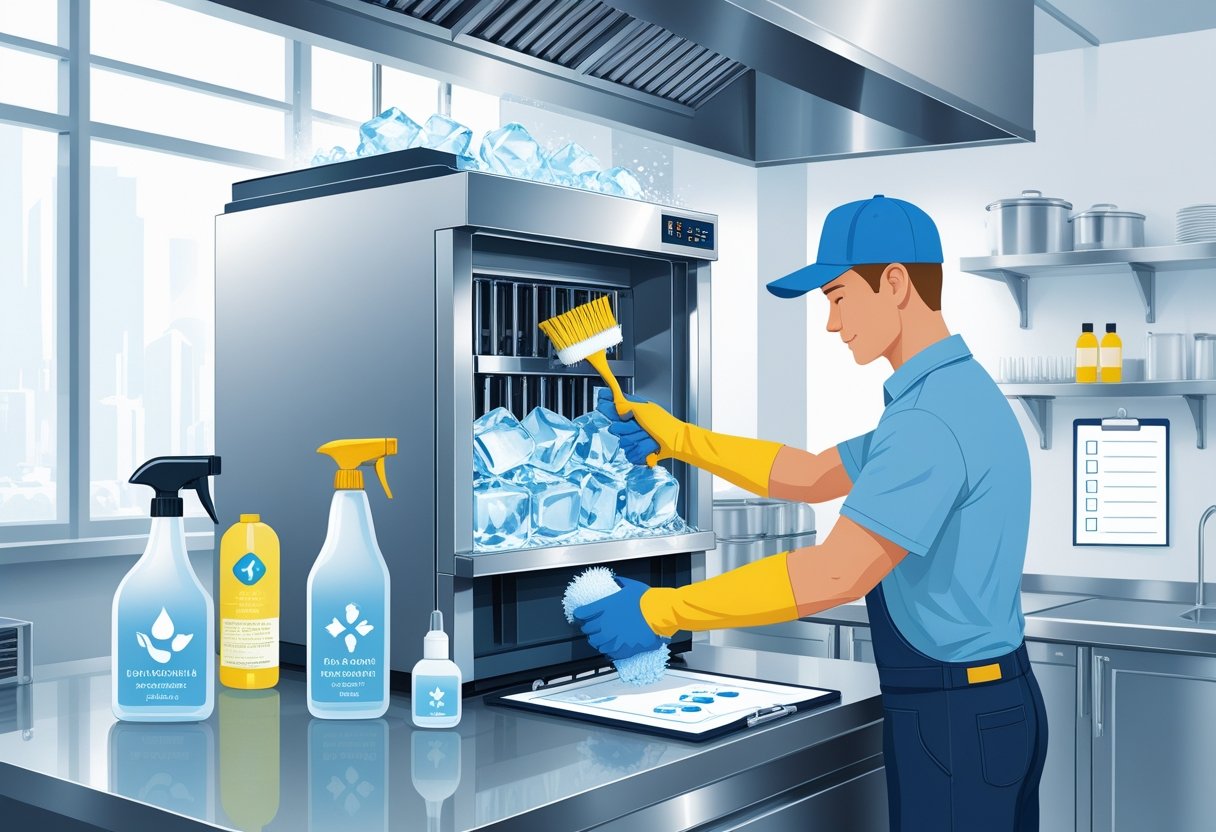
Importance of Routine Ice Machine Cleaning for Health and Efficiency Maintenance
