proudly serving
the mid-south
How to Make Clear Ice from the Comfort of Your Home Like a Pro
There’s nothing quite like a cold drink with crystal clear ice keeping it cool. Learn how to create perfect ice from your own home here!
Have you been here before? You’re sitting at a restaurant table and your server brings you your drink and lo and behold, they’ve served you a work of art. The ice is immaculate — perfectly clear and you can see straight through it. Alternatively, you might have scooped up a cup of ice at home or eyed a drink that had ice that was uncomfortably foggy.
In this blog, we’re going to look at what makes and keeps ice from being clear. Next, we’re going to learn how to make your own clear ice. Let’s get started!
Why is your ice cloudy?
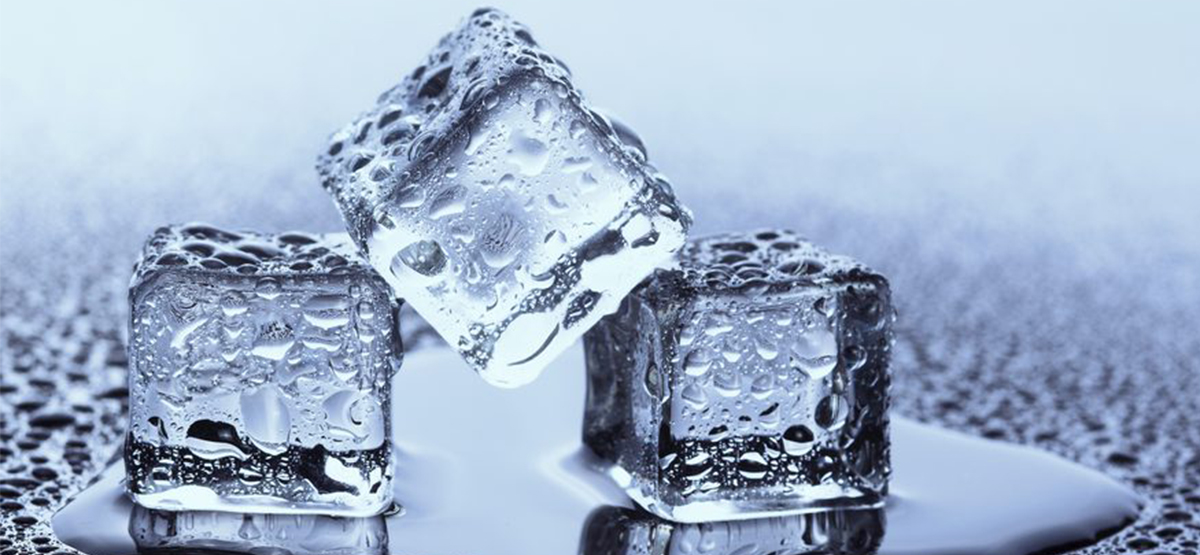
Cloudy ice is caused by impurities in the water that is being frozen. That’s not to say that the water you’ve poured into your ice trays that are producing frozen foggy cubes is unsafe. But rather, air bubbles and natural minerals are preventing them from being crystal clear.
Let’s use an example from nature: icicles. Icicles are created from dripping water that gradually freezes over time; this water is relatively pure. As the dripping water begins to solidify, the icicles take on a clear form because the ice is created in layers. Because the icicles are freezing over time rather than all at once — unlike your ice cube trays at home — the water is free of air bubbles and able to be clear.
How to make your own clear ice at home
So, how can you recreate the beauty of icicles and create the luxury of restaurant-quality-like ice cubes at home?
- (Optional) First, grab a jug of distilled water. We recommend distilled water for making the clearest ice possible because it lacks the minerals that are found in water from your faucet at home. However, if you don’t mind the taste of your location’s tap water, you can skip this step. Additionally, the next steps will help eliminate excess impurities.
- Get a small cooler with a removable lid and ensure it’s completely clean and sanitized. This is going to be where the magic happens!
- Next, fill your cooler with water. Because your cooler is insulated on all sides, leaving the lid open is going to allow your water to freeze gradually from the top to the bottom. Just like an icicle, this will aid in creating a clear effect since the water will not get frozen from all sides like it would in a freezer tray.
-
Then, keep the cooler in your freezer for 24 hours.
- This next step can get slippery! We recommend doing it over a large cutting board balanced above your sink. Flip the ice cooler upside down and allow it to sit for five minutes. Water will drip from the cooler — this is where all the impurities have gone!
- Next, carefully using a bread knife (or any serrated blade), chip away at the top of the ice block. It doesn’t have to be pretty. Pour out the water that’s inside.
- Finally, the fun part: making your ice cubes. Use your serrated knife again to lightly indent where you want to cut your ice. Don’t apply pressure; instead, gently saw back and forth just enough to make a distinction for where you want to cut. Using a hammer, lightly tap the knife into the indention that you’ve created. Continue this process to make the rest of your cubes!
Why bother making clear ice in the first place?
There’s a handful of reasons to tackle the art of creating clear ice.
- Aesthetics. Plain and simple, clear ice is pretty ice. Impress your guests and make stunning drinks.
- Taste. Clear ice lacks air bubbles and impurities that can affect the taste of your beverages. Clean ice makes incredible drinks.
- Longevity. In addition to tasting better, clear ice lasts longer because it lacks the air pockets found in foggy ice. Longer-lasting ice creates less watered-down drinks.
Now that you’ve got the knowledge and know-how, go wield your ice crafting skills! Want clear ice at home without the work? We help with that, too! Get in touch with us here.
Recent News

Behind the Scenes: How Ice Supports Catering, Festivals, and Spring Events

The Role of Ice in Spring Menus: From Patio Drinks to Seasonal Specials

Is Your Ice Machine Ready for Warmer Weather?
Spring Cleaning For Your Ice Machine

Hosting Easter Brunch? Don’t Forget the Ice
How Often to Clean a Commercial Ice Machine for Best Performance and Longevity
