proudly serving
the mid-south

Ice Maker Not Making Ice? Try These Five Simple Steps
Ice maker not making ice? You’re supposed to get ice. Instead, you get nothing. Be sure to run through these simple steps before you call for repairs.
Is your ice maker not making ice? There are few feelings as frustrating as walking up to your refrigerator or dedicated ice maker, pressing your cup up against the lever, and hearing a faint but telltale “brrrrrrrrrrrrrrrr” sound. You’re supposed to get ice. Instead, you get nothing. Or, worse yet, there’s no sound at all.
What can you do? Are you stuck with a broken machine? Are there simple steps that you can follow to troubleshoot your ice maker and make it function again?
Well, first, take a step back and take a deep breath. We’ll figure this out. Run through these simple steps before you make any service calls. Once you perform some general troubleshooting on your own, and the problem remains, then it’s time to bring in a professional. But more on that later!
Step 1: Thaw
Sometimes, the only problem you have to fix is a small clog. That’s why this is the first step in any basic troubleshooting process for ice makers. Usually, ice can melt and freeze over the chute, acting as a barrier between you and your cubes. That’s why you need to thaw it out. Grab a rag and some warm water and get to rubbin’! If you discover any larger ice build-ups, grab a nonmetal utensil and start chipping.
Remember: maintenance is extremely important. When an ice maker works, it revolutionizes your kitchen. That’s why you need to take care of it!
After a basic clean and chip, if the ice maker still does not produce ice, it’s time to thaw the entire refrigerator. Yes, this is inconvenient, but it’s a necessary step. Remove all of your frozen and refrigerated goods and keep your refrigerator doors open. If you have a standalone ice maker, you can skip that part. You can also place a fan in front of the ice maker to facilitate thawing.
Best case scenario, this is the first and last step you need to take. If not, then onto step two!
Step 2: Discover the control arm!
The control arm, usually made from metal, rests above the ice bin. Instead of your machine making ice forever, the control arm acts as a brake. When the ice bin is full, the control arm raises, communicating to your ice maker to chill out for a bit. See where we’re going with this?
Sometimes, you can knock into the control arm. Or, the mechanism responsible for the arm can fail. Check your control arm now. Is it locked in an upright position? If yes, bring it down and give your ice maker some time to make more ice. If the machine functions as normally after this, then hooray!
Step 3: Your water filter needs to be replaced
This is simpler than it sounds, trust us. Some ice-making systems have a safety measure in place that turns off ice-making capabilities if your water filter needs to be replaced. First off, yay safety! Second, if you don’t have a display panel that communicates this issue, it’s tough to determine if your ice maker has this feature at all. Check your machine’s manual for more details about your specific make and model.
Replacing your ice maker’s water filter can be like changing an oil filter in a car. If you know what you’re doing, it’s a simple and quick process. However, if you have zero experience replacing filters of any kind, particularly if your water filter is what is called an “in-line” filter, you may want to contact a repairman or company to do this for you.
The difficulty of replacing a water filter comes down to make and model. Some under-counter ice makers have a simple and accessible water filter. For that type of machine, it’s as easy as opening a panel and removing the water filter. For in-line filters, the steps are a bit more complex, and we recommend you contact a service professional to take care of this for you.
Step 4: General troubleshooting
If the first three steps did not solve your problem, then some of these general troubleshooting tips just might lead you down the right path to a fully functioning ice maker.
- Inspect your water line, valve, and connectors. Is there any noticeable damage or residue? If so, document accordingly.
- Is your water supply line kinked? Like any hose, your supply line can tangle into all sorts of shapes and sizes.
- Does your ice maker or refrigerator have a touch display? Do you have the option to fully reset your machine? If the answer is yes, give that a shot. Sometimes a factory reset is all it takes. Refer to your product manual for steps on how to reset your device.
- Your thermostat could be faulty! Your ice maker will not make ice if it’s too warm. Try adjusting the temperature to see if that has any noticeable positive effect.
- Is your ice maker level? Sometimes, you can bump into your ice maker. Doing so may dislodge it and cause the ice models to malfunction. First, check if your refrigerator or dedicated ice maker is level. Then, if you have a refrigerator, check the internal ice maker to ensure it’s level.
Step 5: It’s time to contact a service technician
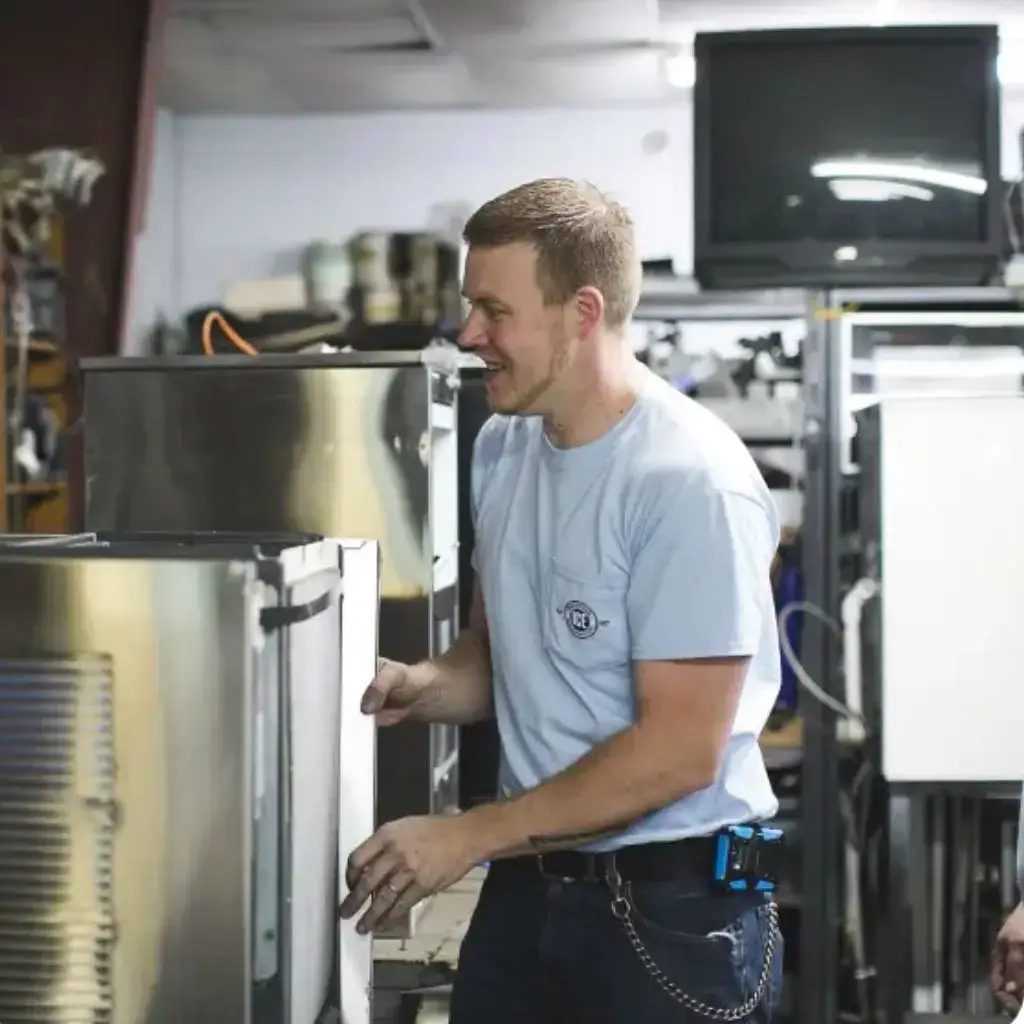
If none of these steps or tips solve your issue, then you’ve done all you can as a responsible ice maker owner. Now, all that’s left for you to do is contact a dedicated technician with a proven track record of maintaining and repairing ice machines.
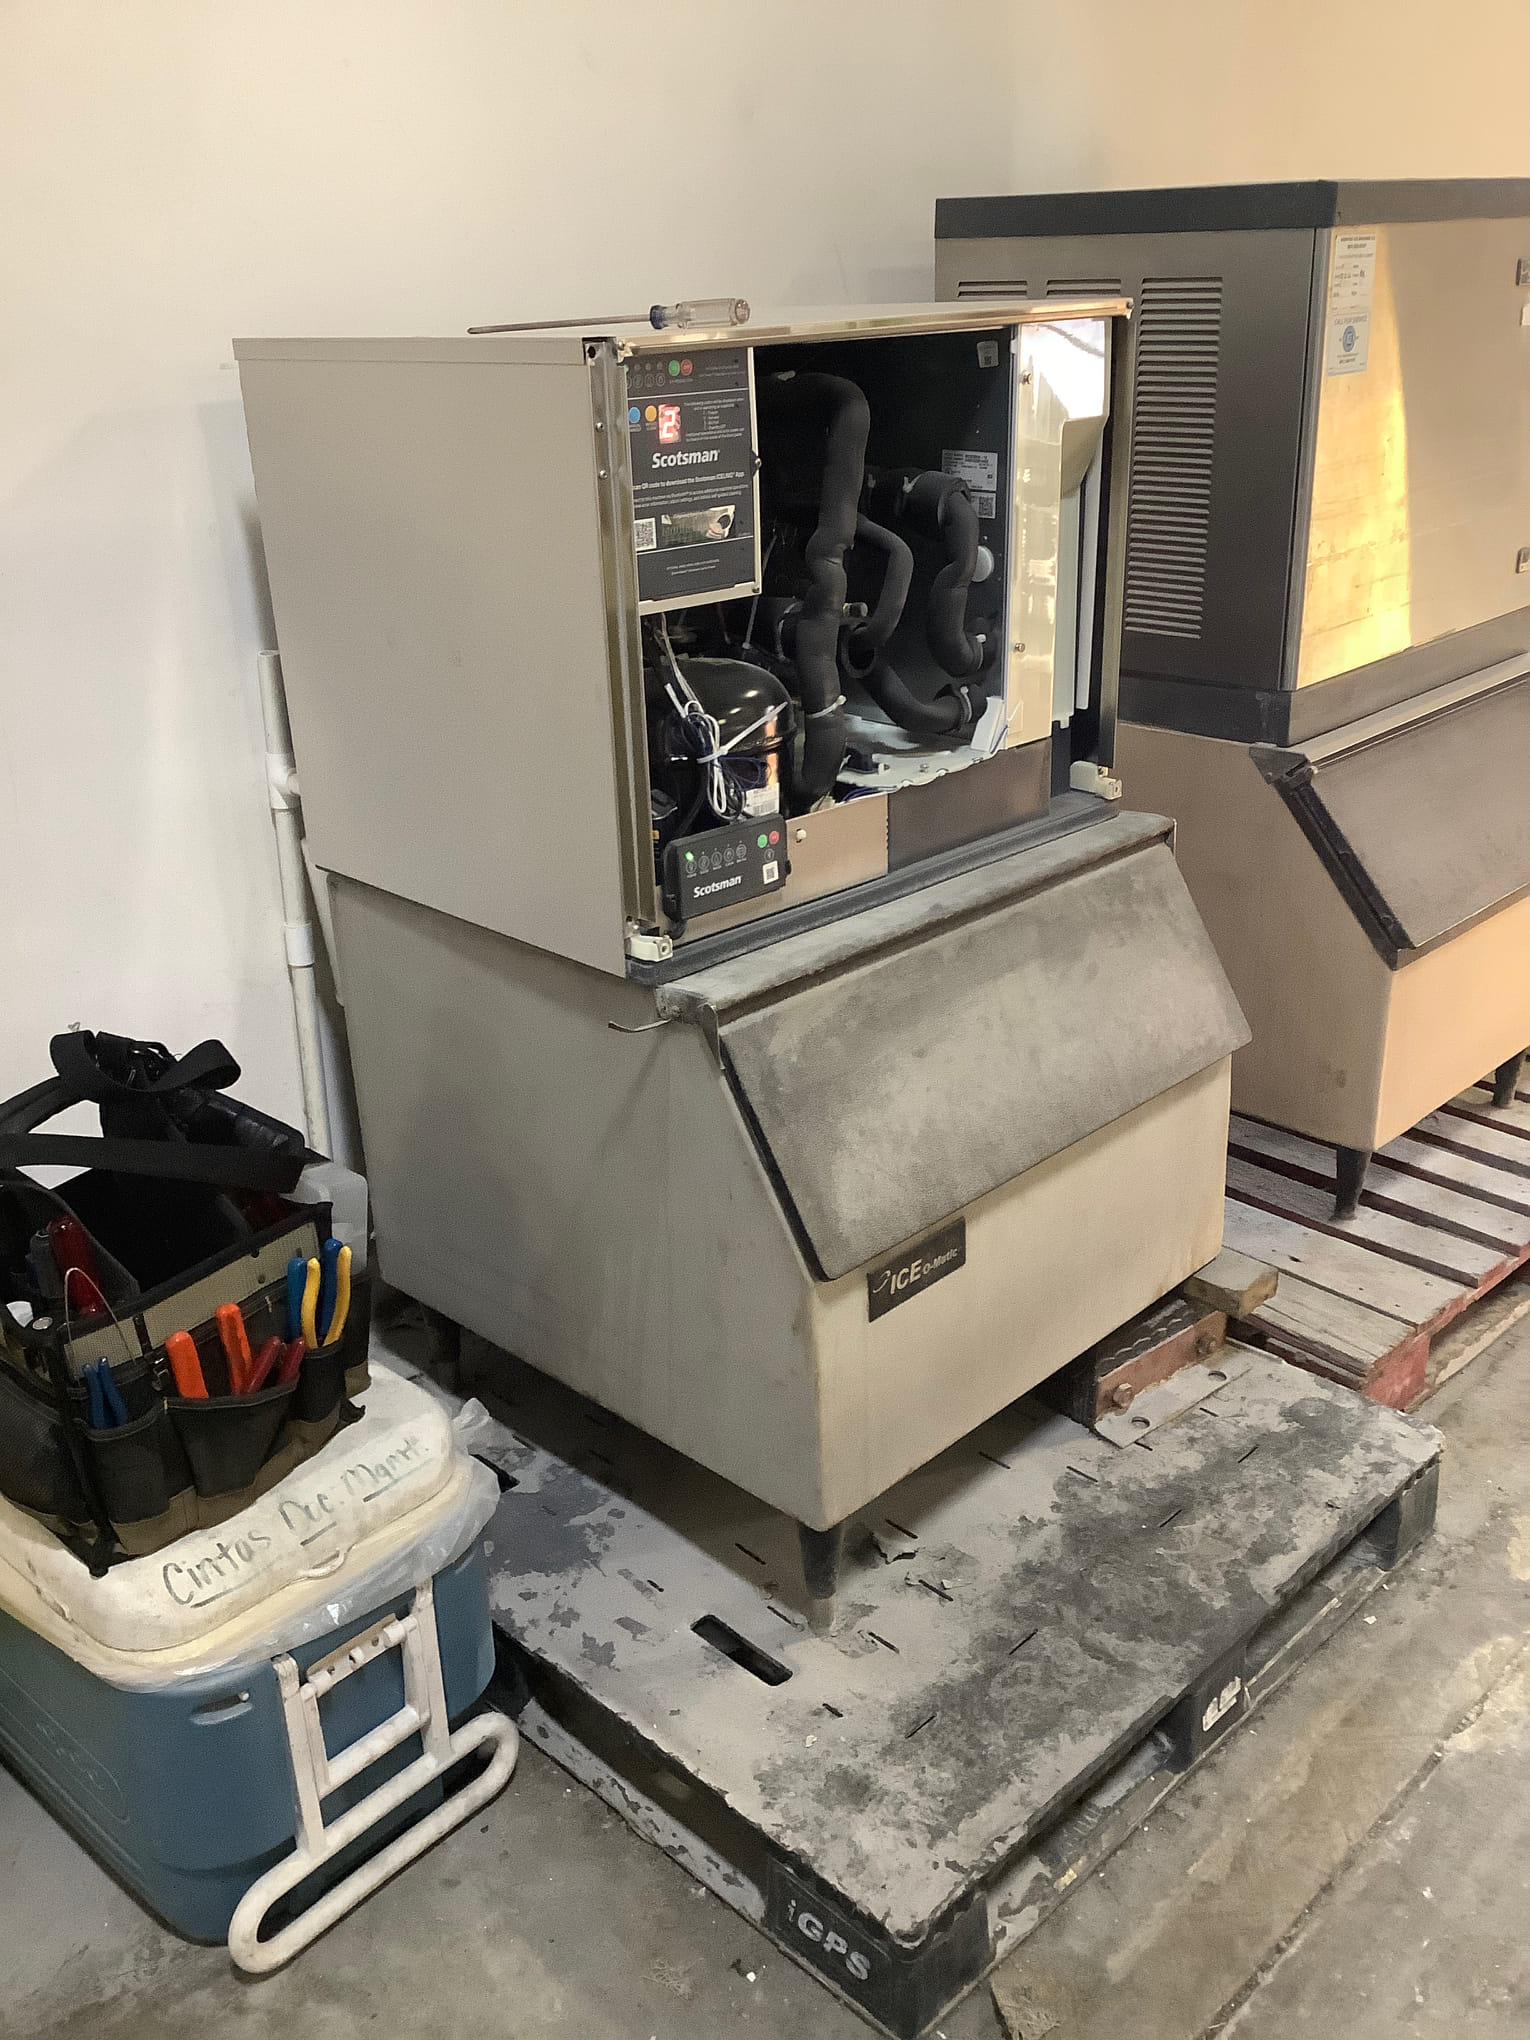
If you’re in the MidSouth region, we can help! For over 40 years, our team at Memphis Ice has served its community responsibly by working with trusted partners like Ice-O-Matic and going above and beyond for our customers. We want to make sure that your home or business has the ice it needs when you need it. That’s what we’re here for!
Recent News

How Often to Clean a Commercial Ice Machine for Best Performance and Longevity

How Memphis Ice Keeps Mid-South Businesses Cool and Compliant with Reliable Service
How Long Does an Ice Machine Last The Friendly Guide to Lifespan and Care

How Ice Quality Affects Food and Beverage Presentation For Stunning Visual Appeal
How Humidity Impacts Commercial Ice Production and Tips to Optimize Efficiency
Hospital Ice Machine Standards for Safety and Hygiene in Healthcare Settings